


Building a gaming PC yourself is one of the most rewarding projects a gamer can undertake. The process involves a few key stages: selecting components that work together and fit your budget, assembling them in a case, and installing your software and drivers.
This process gives you complete control, ensuring every dollar spent goes directly into the performance you want.
Why Build Your Own Gaming PC
Deciding to build your own rig instead of buying a pre-built machine is about more than just assembling components. It is about creating a personalized experience from the ground up. For most people, the biggest driver is getting more performance for their money.
When you hand-pick every component, you avoid the retail markups and potential weak points often found in off-the-shelf systems. This journey puts you in control, letting you decide exactly which graphics card will run your favorite games, how much RAM you need for streaming and multitasking, and what kind of storage will get you into the action without long loading screens.
The Core Advantages of a Custom Build
Building your own machine might seem like a challenge, but the payoff is significant and lasts for years. You do not just end up with a better computer; you gain a deep understanding of the hardware that powers modern gaming. That knowledge makes future upgrades and troubleshooting much easier.
Here’s why it is worth it:
- Better Value: You can allocate your budget to the parts that matter most for gaming, like the graphics card and CPU. This almost always yields more power for the same price as a pre-built system.
- Total Customization: Everything is your choice. From the appearance of the case and its lighting to the exact performance of your processor, every decision is yours.
- Upgrades Are Simpler: Once you know your system inside and out, swapping out a GPU for a newer model or adding more storage is straightforward. You will not have to buy a whole new PC.
- Zero Bloatware: Your build starts with a completely fresh installation of your operating system. There is no pre-installed software slowing things down from day one.
Taking the DIY route is not just about buying a product; you are investing in a skill. The process demystifies the technology and gives you the confidence to maintain, diagnose, and improve your own rig for years.
Even high-end pre-built systems can serve as a source of inspiration. You can review a detailed breakdown of what makes a machine like the Alienware 18 Area-51, a gaming powerhouse, to see how premium components come together. This guide will give you the power to make those same smart choices for your own build, creating a PC that is a perfect match for you.
Selecting and Matching Your PC Components
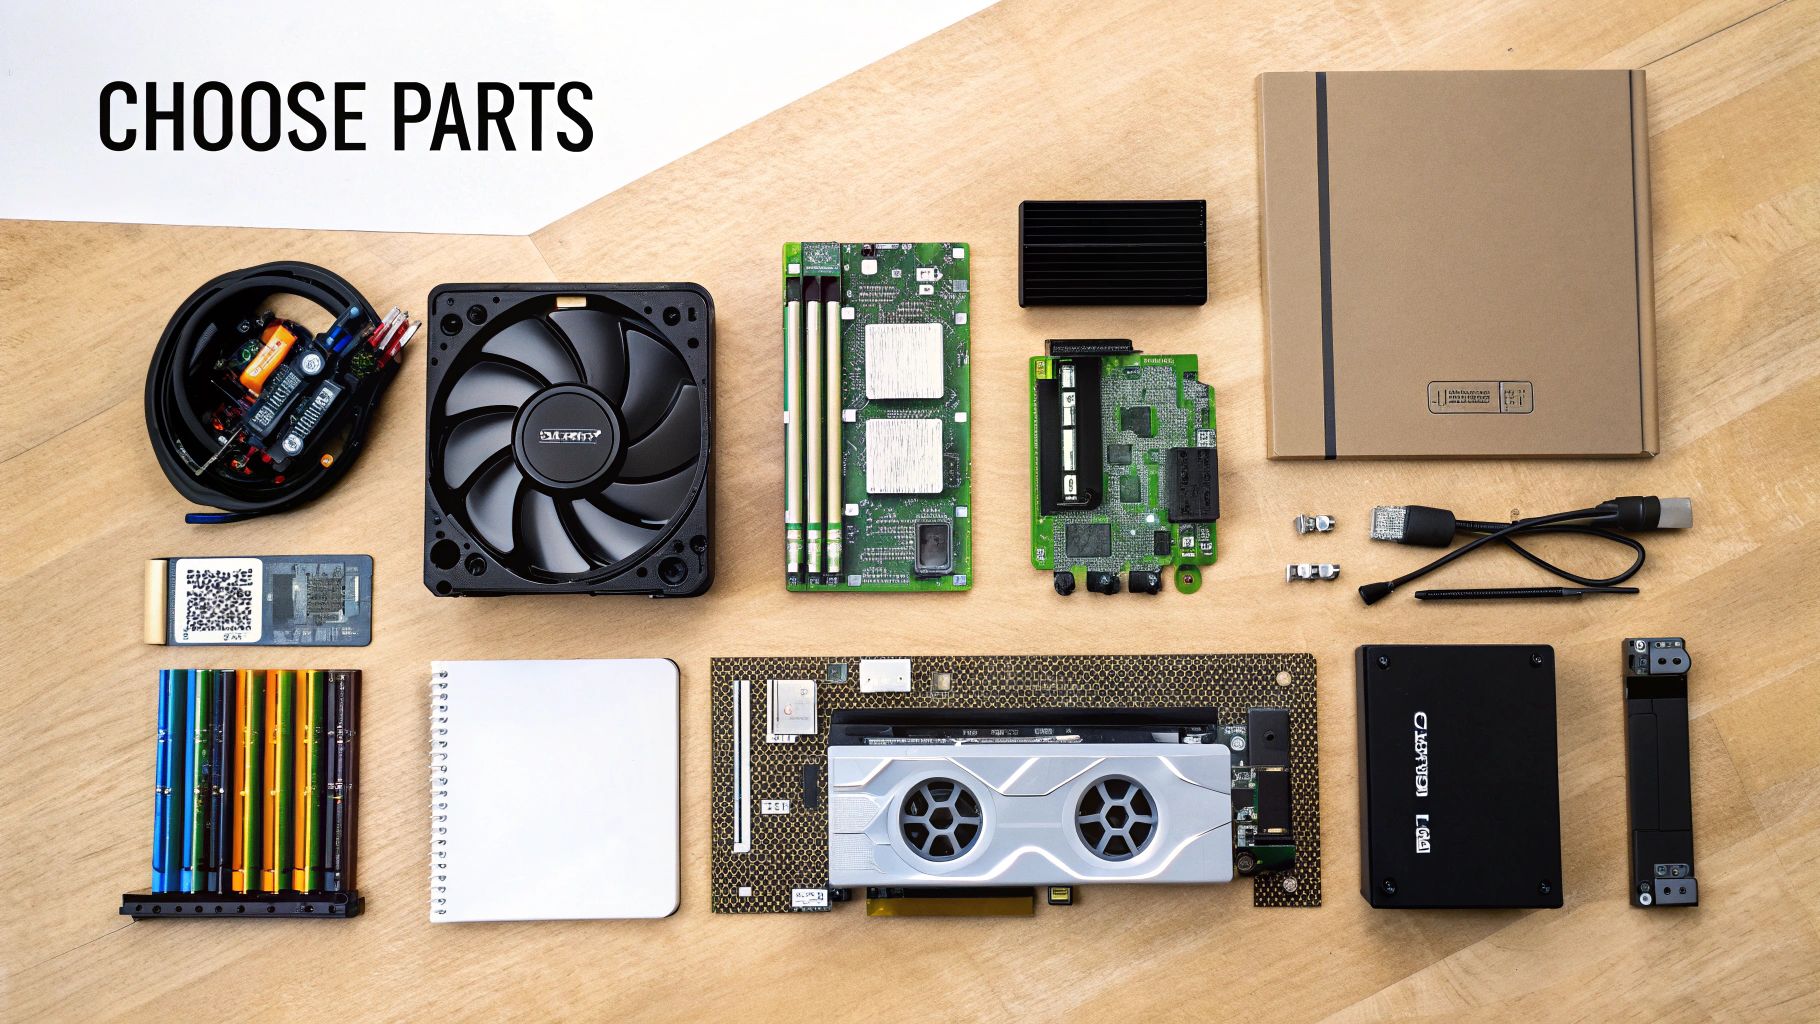
This is the planning phase. Think of yourself as the general manager of a sports team, where every decision shapes your roster. Choosing your components is a balancing act between raw power, what you can afford, and leaving room for future upgrades.
Every part has a job to do, and understanding how they all work together is the most important part of building a gaming PC that delivers what you want. We will move past just listing parts and get into the synergy between them, making sure every dollar you spend is effective, whether you're building a modest 1080p rig or a 4K machine.
The Core Components and Their Roles in Gaming
Before you start adding things to your online shopping cart, let's understand what each component does. If you get the right combination, your PC will perform well. If you do not, you may end up with performance bottlenecks and buyer's remorse.
-
Central Processing Unit (CPU): This is the brain of the computer. The CPU handles calculations for things like enemy AI, in-game physics, and the general logic that makes a game run. A capable CPU is crucial for preventing performance dips in complex strategy games or large open-world titles where many things are happening at once.
-
Graphics Processing Unit (GPU): This is the most important component for gaming performance. The graphics card is a specialized processor built to render all the visuals on your screen. A powerful GPU lets you increase the resolution to 1440p or 4K, enable visual features like ray tracing, and achieve high frame rates.
-
Random Access Memory (RAM): Think of RAM as your PC's short-term memory. It holds all the data your system needs to access immediately. For modern gaming, 16GB is the current standard. Having enough RAM ensures your game runs smoothly without stuttering while it tries to load assets from your main storage.
-
Storage (SSD/HDD): This is where everything is stored long-term—your OS, your games, and your files. A Solid-State Drive (SSD) provides a significant speed improvement over a traditional Hard Disk Drive (HDD). Games load in seconds, not minutes, and the entire system feels more responsive. A common strategy is to use a fast SSD for Windows and your favorite games, then add a larger, less expensive HDD for other data.
Balancing Your Build for Different Gaming Goals
Your monitor and performance targets should guide your choices. There is little point in buying a top-tier GPU built for 4K if you are using a 1080p screen. Matching your hardware to your resolution is the most efficient way to build.
Looking at the market, there is a clear split. While budget PCs under $600 make up 44.9% of the sales volume, it is the premium systems over $1,200 that are seeing growth at an annual rate of 13.4%. Consumers are seeking high-end experiences, and hardware is evolving to meet that demand.
Here is how that breaks down for different goals:
-
Solid 1080p Gaming: This is still the most popular resolution because it looks good and is affordable. A mid-range CPU paired with a graphics card like an NVIDIA RTX 4060 or AMD RX 7600 is a capable combination here. 16GB of RAM is sufficient.
-
1440p Gaming Powerhouse: This is often considered the sweet spot, offering a sharp visual upgrade. You will want to step up to a stronger CPU and a GPU like an RTX 4070 Super or RX 7800 XT to maintain smooth performance at high settings.
-
High-End 4K and VR Gaming: For enthusiasts seeking maximum visual fidelity. This requires a top-tier CPU and a high-performance GPU like an RTX 4080 Super or RX 7900 XTX. You will also want to increase RAM to 32GB of fast DDR5 memory. VR is also becoming more common, with hardware like the new Meta Quest 3's Xbox Edition showing the direction of immersive gaming.
To make this clearer, here’s a table showing how these tiers typically stack up.
Sample Component Tiers for Different Gaming Goals
This table provides a general idea of what kind of hardware fits into each performance bracket. Think of it as a starting point for your own research, not a strict set of rules.
| Component | Entry-Level (1080p Gaming) | Mid-Range (1440p Gaming) | High-End (4K/VR Gaming) |
|---|---|---|---|
| CPU | Intel Core i5-12400F / AMD Ryzen 5 5600 | Intel Core i5-14600K / AMD Ryzen 7 7700X | Intel Core i7-14700K / AMD Ryzen 7 7800X3D |
| GPU | NVIDIA RTX 4060 / AMD RX 7600 | NVIDIA RTX 4070 Super / AMD RX 7800 XT | NVIDIA RTX 4080 Super / AMD RX 7900 XTX |
| RAM | 16GB DDR4 3200MHz | 16GB or 32GB DDR5 6000MHz | 32GB DDR5 6000MHz+ |
| Storage | 1TB NVMe SSD | 2TB NVMe SSD | 2TB+ NVMe Gen4 SSD |
| Motherboard | B660 / B550 Chipset | B760 / B650 Chipset | Z790 / X670E Chipset |
Ultimately, these are just examples. The PC parts market changes quickly, so always check for the latest reviews and price-to-performance comparisons before you buy.
Ensuring Component Compatibility Is Critical
You have a list of parts you are excited about. Now for the most important sanity check: making sure they all work together. This is a common mistake for new builders, and it can be a costly one.
The best way to avoid compatibility issues is by using an online tool. PCPartPicker is the most popular choice for this. It automatically flags potential issues, like a CPU that does not fit your motherboard or a graphics card that is too long for your case.
This tool simplifies a complicated process by checking for conflicts with:
- CPU Socket and Motherboard Chipset: Making sure your processor and motherboard are a compatible match.
- RAM Type and Speed: Verifying your RAM is the right generation (like DDR4 vs. DDR5) for your motherboard.
- Physical Dimensions: Checking if your GPU and CPU cooler will physically fit inside the case you picked.
- Power Requirements: Adding up the wattage your parts need to confirm your Power Supply Unit (PSU) can handle the load.
Putting It All Together: The Step-by-Step Build
You have a set of boxes filled with your chosen components. Now for the assembly—turning that pile into a functioning gaming rig. The process is less like rocket science and more like a high-tech LEGO set.
We will tackle this in a logical order. Following a proven sequence is the key to a build that is smooth and stress-free, saving you from having to uninstall something you just installed.
Prep Your Workspace and Grab Your Tools
Before touching any components, prepare your workspace. You need a large, clean, and well-lit surface—a dining room table or a dedicated workbench is ideal. If possible, avoid building on carpet, which can generate static electricity that can damage PC parts.
You do not need many tools. A few simple items will be enough for the entire build.
- Screwdrivers: A standard Phillips #2 screwdriver handles most screws. It is a good idea to have a smaller Phillips #1 on hand as well for smaller M.2 screws.
- Cable Management: Zip ties or reusable velcro straps are very useful. They help turn a mess of cables into something clean and organized. A pair of flush cutters or scissors is helpful for trimming them.
- Lighting: A headlamp or your phone's flashlight is useful for seeing into the dark corners of your case.
Now, a quick word on electrostatic discharge (ESD). While modern parts are relatively robust, a static shock can still cause damage. The easiest way to stay grounded is to periodically touch the metal frame of your PC case or the metal casing of your power supply (while it is plugged in but switched off). For more consistent protection, an anti-static wrist strap is a cheap and effective tool.
Pro Tip: Your motherboard manual is the most important document for this process. Keep it open and next to you. It has diagrams for everything, from which RAM slots to use to where the front panel pins connect. When in doubt, consult the manual.
The "Motherboard First" Method
The most efficient way to build is to assemble as much as you can on the motherboard before you put it in the case. This gives you plenty of room to work without having to reach inside a metal box.
We will install the CPU, RAM, and your M.2 SSD in this first phase.
Seating the CPU
This part may seem intimidating, but it is simple. On the motherboard, find the CPU socket and open the small metal retention arm. For Intel chips, you will also lift the bracket. Look for a small triangle on a corner of the CPU and match it with the triangle on the socket. Gently lower it into place—it should drop in without any force. Then, lower the retention arm to lock it down.
Installing the RAM
Next is the memory. Open the plastic clips at the ends of the RAM slots. Note the notch on the bottom of your RAM stick and line it up with the notch in the slot. It only fits one way. Push down firmly on both ends until you hear a click as the clips snap shut. If you are using two sticks, your manual will tell you which slots to use to enable dual-channel performance.
Mounting the M.2 SSD
If you have an NVMe drive, now is the time to install it. Find the M.2 slot on your motherboard (it is short and horizontal), remove the small screw at the end, and slide the drive in at a slight angle. Push it down so it lies flat, then replace the screw to hold it securely.
Moving into the Case
With the core components assembled, it is time to place them in the case. First, check that the motherboard standoffs in your case are in the correct positions for your motherboard's size (ATX, Micro-ATX, etc.). Next, install the I/O shield—the thin metal plate for your ports—into the rectangular opening on the back of the case. Do this now to avoid having to disassemble things later.
Carefully lower the motherboard into the case, lining up its screw holes with the standoffs and ensuring its ports fit into the I/O shield. Insert the screws, starting with the center one to hold it in place. Tighten them until they are snug; there is no need to overtighten.
Now for the GPU. Find the top-most PCIe x16 slot (it's the longest one), open its retention clip, and remove the metal expansion slot covers on the back of the case that line up with it. Align your graphics card with the slot and press down firmly until it clicks securely into place. Screw it into the case to prevent it from sagging.
This modular approach is why building a desktop is so rewarding. It is not surprising that desktop gaming PCs dominate the market, accounting for about 59.39% of revenue thanks to their performance and easy upgrade path. Being able to swap out a GPU or add more storage is a major advantage. You can find more insights on the gaming PC market from sources like Grand View Research.
Hooking Up Power and Storage
We are in the final stages. It is time to connect the power supply and any other storage drives. If you have a modular PSU, determine which cables you need and connect them to the power supply before you mount it. This saves a lot of effort and reduces clutter. Install the PSU in its designated spot (usually at the bottom rear of the case) and secure it with four screws.
Next, mount any 2.5-inch SSDs or 3.5-inch hard drives into their dedicated bays. Once they are physically in place, it is time to connect the cables.
Here are the main power connections you will be making:
- 24-Pin Motherboard Power: This is the largest connector from your PSU and plugs into the long port on the side of your motherboard.
- 8-Pin CPU Power: This cable connects near the CPU socket, almost always at the top-left corner of the motherboard.
- PCIe Power for GPU: Your graphics card needs dedicated power. It will likely use one or more 6+2 pin PCIe connectors.
- SATA Power and Data: For your 2.5-inch or 3.5-inch drives, connect a SATA power cable from the PSU and a SATA data cable from a port on your motherboard.
Last, plug your case fans into the fan headers on the motherboard. Then comes the final step: the front panel connectors. These small pins for your power button, USB ports, and audio jacks can be tricky. This is where the motherboard manual is essential.
With everything plugged in, your PC is assembled. It is time to see if it powers on.
Powering On and Installing the Operating System
This is the moment of truth. Every component is installed, the cables are managed, and your rig is ready to come to life. The first power-on is always a mix of excitement and anxiety, but a quick pre-flight check will help ensure it goes smoothly.
Before you hit the power button, do a quick final check. Is the monitor plugged into the graphics card, not the motherboard? Are the keyboard and mouse connected? Is the main power switch on the back of your PSU flipped to the "I" (On) position?
Now you are ready. Press the power button.
You should hear the fans spin and see some lights turn on. If a logo or text appears on your screen, congratulations—you have a successful POST (Power-On Self-Test). The machine is working.
Navigating the BIOS for the First Time
Your first destination is the BIOS (or UEFI), the motherboard's control center. To enter it, you need to press a key immediately after powering on the PC. It is usually Delete, F2, or F12, but check your motherboard manual to be certain.
Once you are in, do not feel overwhelmed. Your main task right now is to confirm that the system recognizes all your new hardware. You should be able to find a screen listing your CPU model, the total amount of RAM, and all your storage drives.
Now for a very important step: setting your RAM speed. Your new memory kit is likely running at a slow default speed. You need to enable its built-in performance profile. Look for a setting called XMP (for Intel) or EXPO (for AMD) and turn it on. This is usually a single-click setting.
This is a critical step for any gaming PC. Leaving XMP or EXPO off can reduce your performance by 10-15% in some games. You are leaving free performance on the table. Enable it, save your settings, and exit the BIOS.
This whole process is the culmination of the physical assembly. The infographic below provides a visual recap of the build flow, from preparing the motherboard to connecting the final cables.
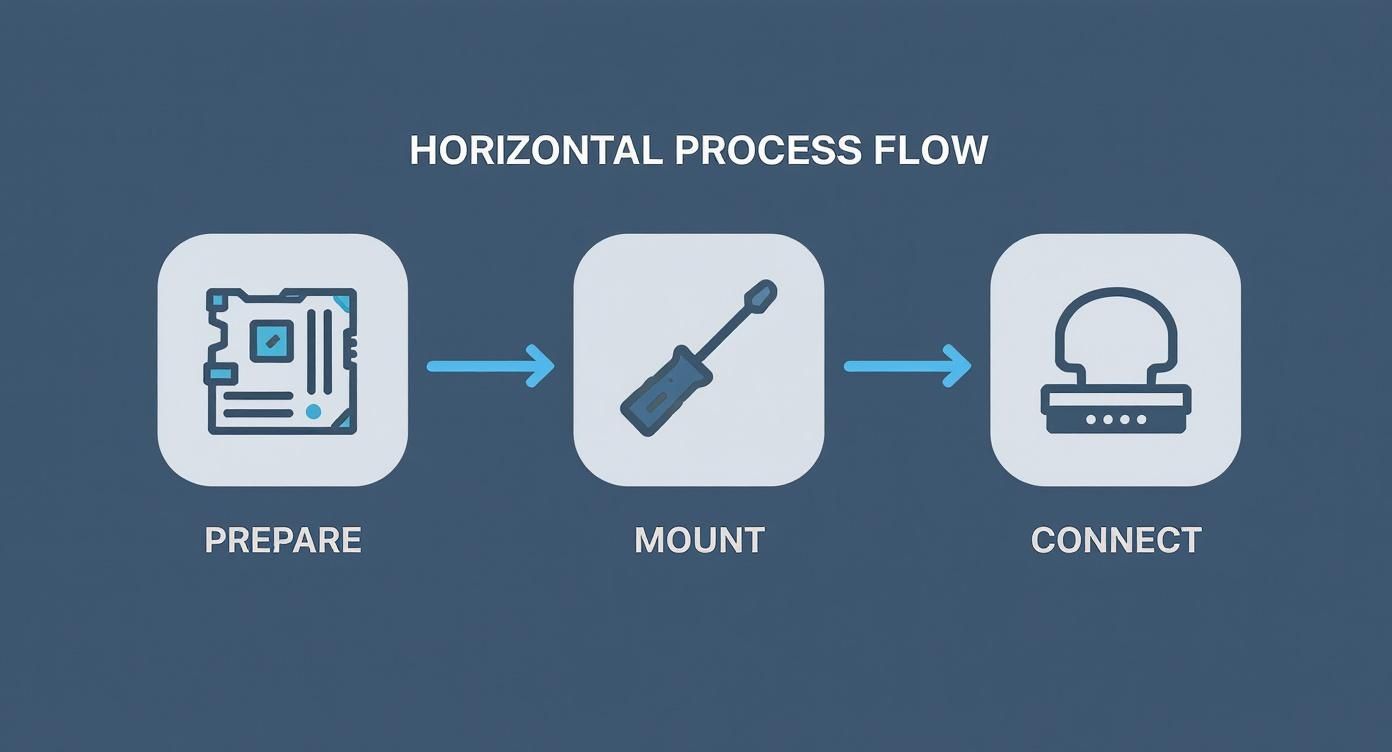
It serves as a good reminder of how each step builds on the last, leading up to the moment you finally power it on.
Creating a Bootable USB Drive
With the hardware checked, it is time to install an operating system. For gaming, that is almost always Windows. You will need another computer and a USB drive that is at least 8GB.
Microsoft's Media Creation Tool makes this process simple. Download the tool, run it, and follow the prompts. It will turn your USB stick into a bootable Windows installer. Be aware that this process will erase all data on the drive, so back up anything important first.
It is interesting how OS updates can influence hardware sales. The transition to Windows 11, with its specific security and hardware requirements, has prompted many gamers to upgrade their CPU, motherboard, and RAM simultaneously. This is a trend that has fueled both the pre-built and custom PC markets, as documented by industry analysts like Jon Peddie Research.
Installing Windows and Essential Drivers
Plug the bootable USB drive into your new PC and power it on. It should boot directly from the USB drive. If it does not, go back into the BIOS and set the USB drive as your primary boot device.
The Windows installation is a straightforward setup wizard.
- Pick Your Version: Choose the edition of Windows you have a key for (e.g., Windows 11 Home).
- Target Drive: When asked where to install, select your fast NVMe SSD. It will likely appear as "Unallocated Space." Select it and click next.
- Finalize Setup: The installer will copy files and restart a few times. After that, you will set up your user account, password, and privacy settings.
Once you reach the desktop, you are not finished. Your PC is running on generic drivers, which can limit performance. You need to install the correct ones.
First, go to your motherboard manufacturer’s website and download the latest chipset drivers for your specific model. Then, go to either NVIDIA’s or AMD’s website and download the newest graphics driver for your GPU. Installing these two sets of drivers is critical for stability and unlocking the full potential of your new gaming rig.
Optimizing and Troubleshooting Your New Rig
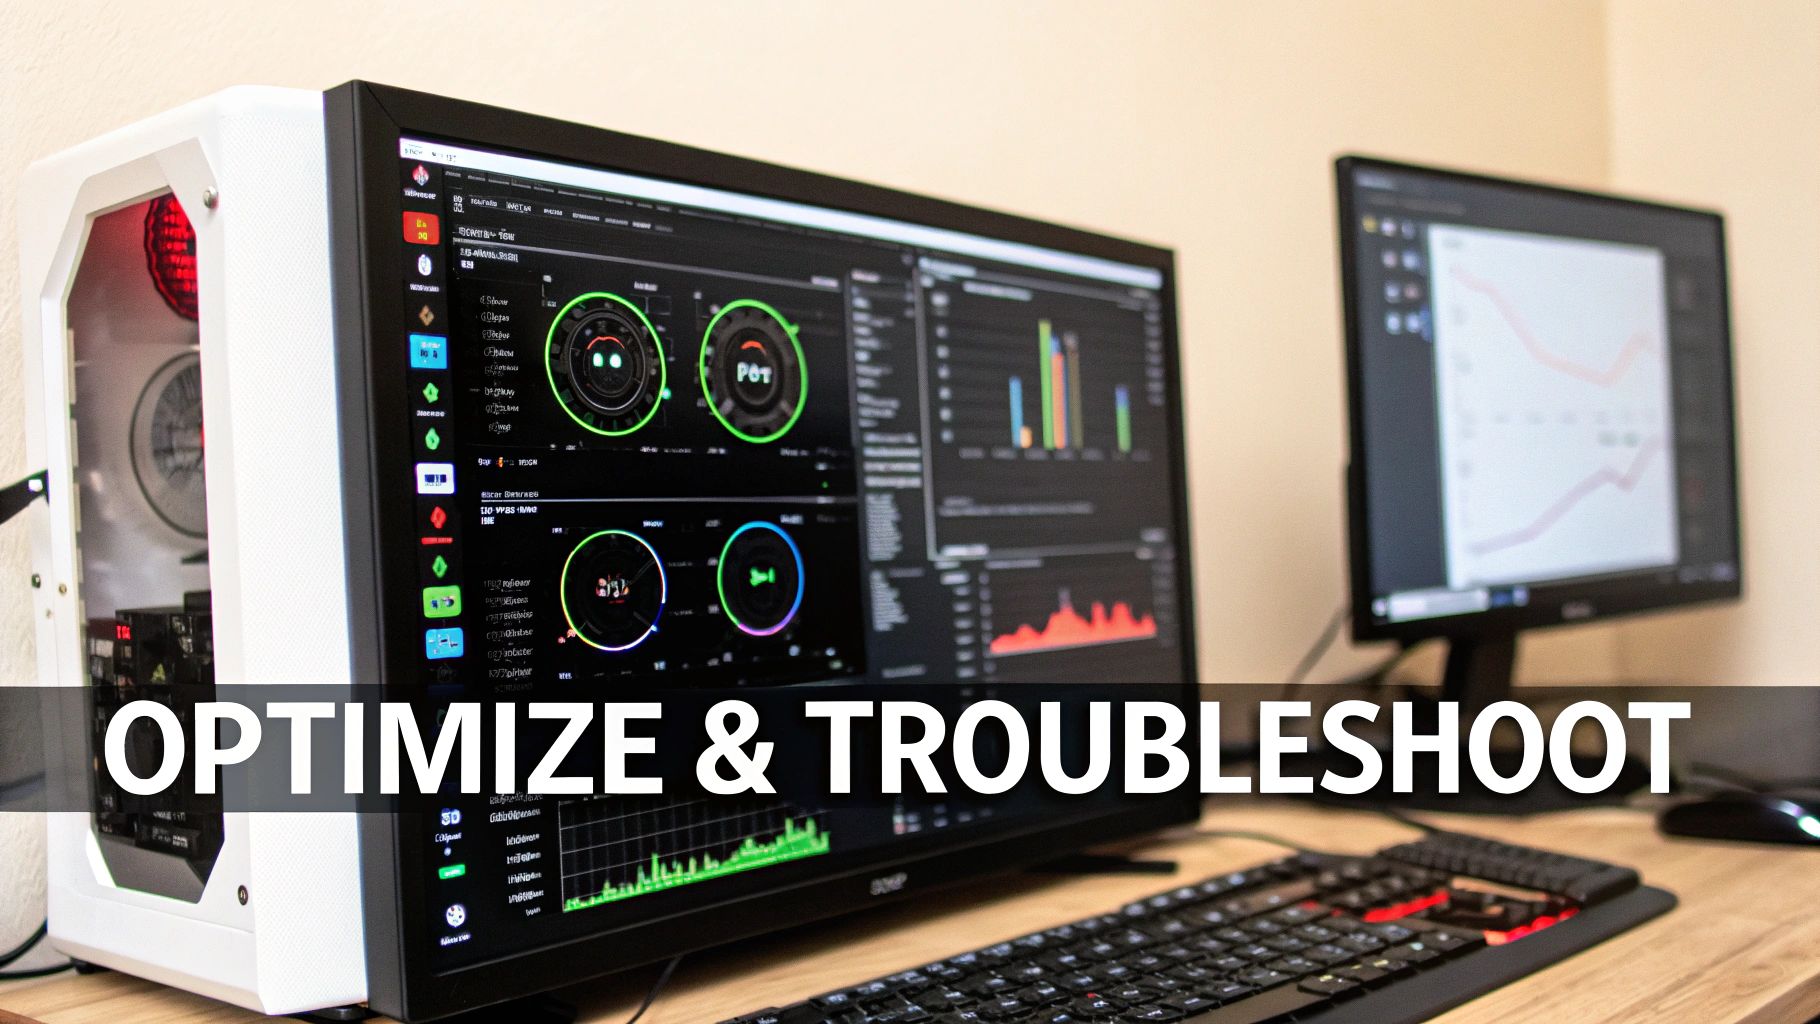
The operating system is installed and drivers are loaded—you officially have a working PC. But the job is not quite done. Now comes the process of tuning your machine, testing its limits, and making sure it runs as smoothly as you imagined.
This is where you turn a collection of components into a high-performance gaming rig. We will install essential software, run some benchmarks to confirm everything is running at full speed, and then review common issues new builders face.
Installing Essential Gaming Software
Before you launch a game, there are a few key programs every gamer should have. These are the tools that let you monitor, manage, and play games on your new PC.
Download these first:
- Gaming Clients: This is how you access your games. At a minimum, you will want Steam and the Epic Games Store, as they cover the majority of PC releases.
- Performance Monitoring: Tools like MSI Afterburner (it works with any brand of GPU) and HWMonitor are invaluable. They let you see your CPU and GPU temperatures, clock speeds, and usage in real-time. This is critical for checking system health.
- Communication: Discord is the standard for voice chat with friends and joining gaming communities.
Once those are installed, it is time to see what your new hardware can do.
Benchmarking Your New Build
Benchmarking is the process of stress-testing your PC to measure its performance and stability. It is a crucial step that confirms your components are performing as expected and your cooling system is effective.
A popular all-in-one tool is 3DMark. It runs demanding graphical tests and provides a score you can compare against similar systems online. If you prefer not to pay for software, you can also use the built-in benchmark tools found in many modern games, such as Cyberpunk 2077 or Shadow of the Tomb Raider.
A good rule of thumb is to run a benchmark for at least 15-20 minutes. If the system completes the test without crashing or overheating (keep an eye on temperatures—stay under 90°C for the CPU and 85°C for the GPU), you likely have a stable build.
This process is your final check. It verifies your work and ensures you are getting the full performance from the hardware you purchased. If your scores seem low or you encounter issues, the next section is for you.
Common Troubleshooting for New Builders
Even if you were careful, problems can arise. Do not panic. Most first-time build issues are simple and easy to fix with a logical approach. Here are the most common ones.
Problem 1: The PC Will Not Turn On at All
You press the power button and nothing happens. No lights, no fans, just silence.
- Solution Checklist:
- Check the switch on the back of the power supply. Is it flipped to the "I" (On) position? This is a very common oversight.
- Make sure the main power cord is plugged in securely at both the wall and the PSU. Confirm that the wall outlet is working.
- Find where the front panel power switch connector plugs into the motherboard. Did it come loose? Your motherboard manual will show the correct pins.
- Give the large 24-pin motherboard and 8-pin CPU power cables a firm push to ensure they are fully seated.
Problem 2: The PC Turns On, But No Display
You have lights and spinning fans, but your monitor is blank, showing a "No Signal" message.
- Solution Checklist:
- The most common mistake: you plugged your monitor into the motherboard's video port instead of the graphics card. Your display cable must always connect directly to the GPU.
- Check that your GPU is fully inserted into its PCIe slot. Also, double-check that you plugged in all the necessary PCIe power cables from the PSU.
- Try reseating your RAM. Power down, unclip the memory sticks, remove them, and then push them back in firmly until both clips click shut.
Problem 3: The System Crashes or Blue Screens
Your PC boots into Windows, but it randomly crashes, especially when gaming or benchmarking.
- Solution Checklist:
- This often indicates instability. The first culprit is frequently your RAM's XMP or EXPO profile in the BIOS. Sometimes these settings are not stable. Try disabling it to see if the crashes stop.
- Overheating is another common cause. Use HWMonitor while gaming to check your CPU and GPU temperatures. If they are too high, you might need to re-apply thermal paste or improve the airflow in your case.
- Are your drivers up to date? Get the latest chipset drivers from your motherboard's website and the newest graphics drivers from NVIDIA or AMD. Outdated drivers can be a source of random crashes.
Your Top PC Building Questions Answered
You have either finished your build or are about to start, and a few questions are probably on your mind. This is completely normal. PC building introduces a lot of new terminology and concepts, so let's clarify some of the most common ones.
Consider this your final debrief—the last pieces of information to help you feel confident not just with the PC you just built, but with planning for its future as well.
How Much Should I Spend on My First Gaming PC?
For a solid 1080p gaming rig, a budget of around $800–$1,200 is a reasonable starting point. This will get you a machine that can handle most modern titles effectively.
To step up to 1440p with high settings, a mid-range build is suitable, typically costing between $1,500 and $2,200. If you are aiming for 4K or high-fidelity VR, be prepared to invest $2,500 or more.
The mid-range is where most gamers find the best balance of price and performance. Your budget should always be based on two things: your monitor's resolution and the performance you expect.
Is It Really That Hard to Build a PC with No Experience?
It can look intimidating, but building a PC is more like assembling a complex LEGO set than performing surgery. With a good guide and some planning, it is completely achievable for a beginner.
The most critical part is selecting compatible components, and tools like PCPartPicker make that step nearly foolproof. The actual assembly is a matter of patience and following directions—no advanced technical skills are required. Most parts are designed to fit only one way, which helps prevent mistakes.
A few common first-timer mistakes include forgetting to install the motherboard's I/O shield, managing cables poorly which can block airflow, and not grounding yourself to prevent static damage. Just take your time and double-check every connection.
How Often Will I Need to Upgrade My Gaming PC?
This depends on your personal standards for performance. A well-built mid-range PC should provide a good gaming experience for 3–5 years without needing major upgrades. The graphics card is almost always the first component to be replaced, usually after a few years when new models offer a significant jump in power.
Your CPU and motherboard have a longer lifespan, often remaining viable for 5-7 years before they begin to limit your system's performance.
Being able to upgrade piece by piece is one of the biggest advantages of building your own PC. It makes your initial investment last much longer and allows you to adopt new technology without buying a whole new machine. This freedom is why many gamers prefer custom PCs over consoles. Of course, subscription services can complicate that decision; you can learn more by reading about whether Xbox Game Pass is still worth it after its recent changes. A custom PC gives you the freedom to engage with any platform or storefront you choose.
At XP Melee, we're dedicated to helping you get the most out of your gaming life with news, reviews, and guides. Stay ahead of the curve and join a community that shares your passion by visiting us at https://xpmelee.com.
Article created using Outrank


